Fix Leaking Tap Easy DIY Solutions for a Drip-Free Faucet


Stop the Drip: How to Fix a Leaking Tap in Minutes
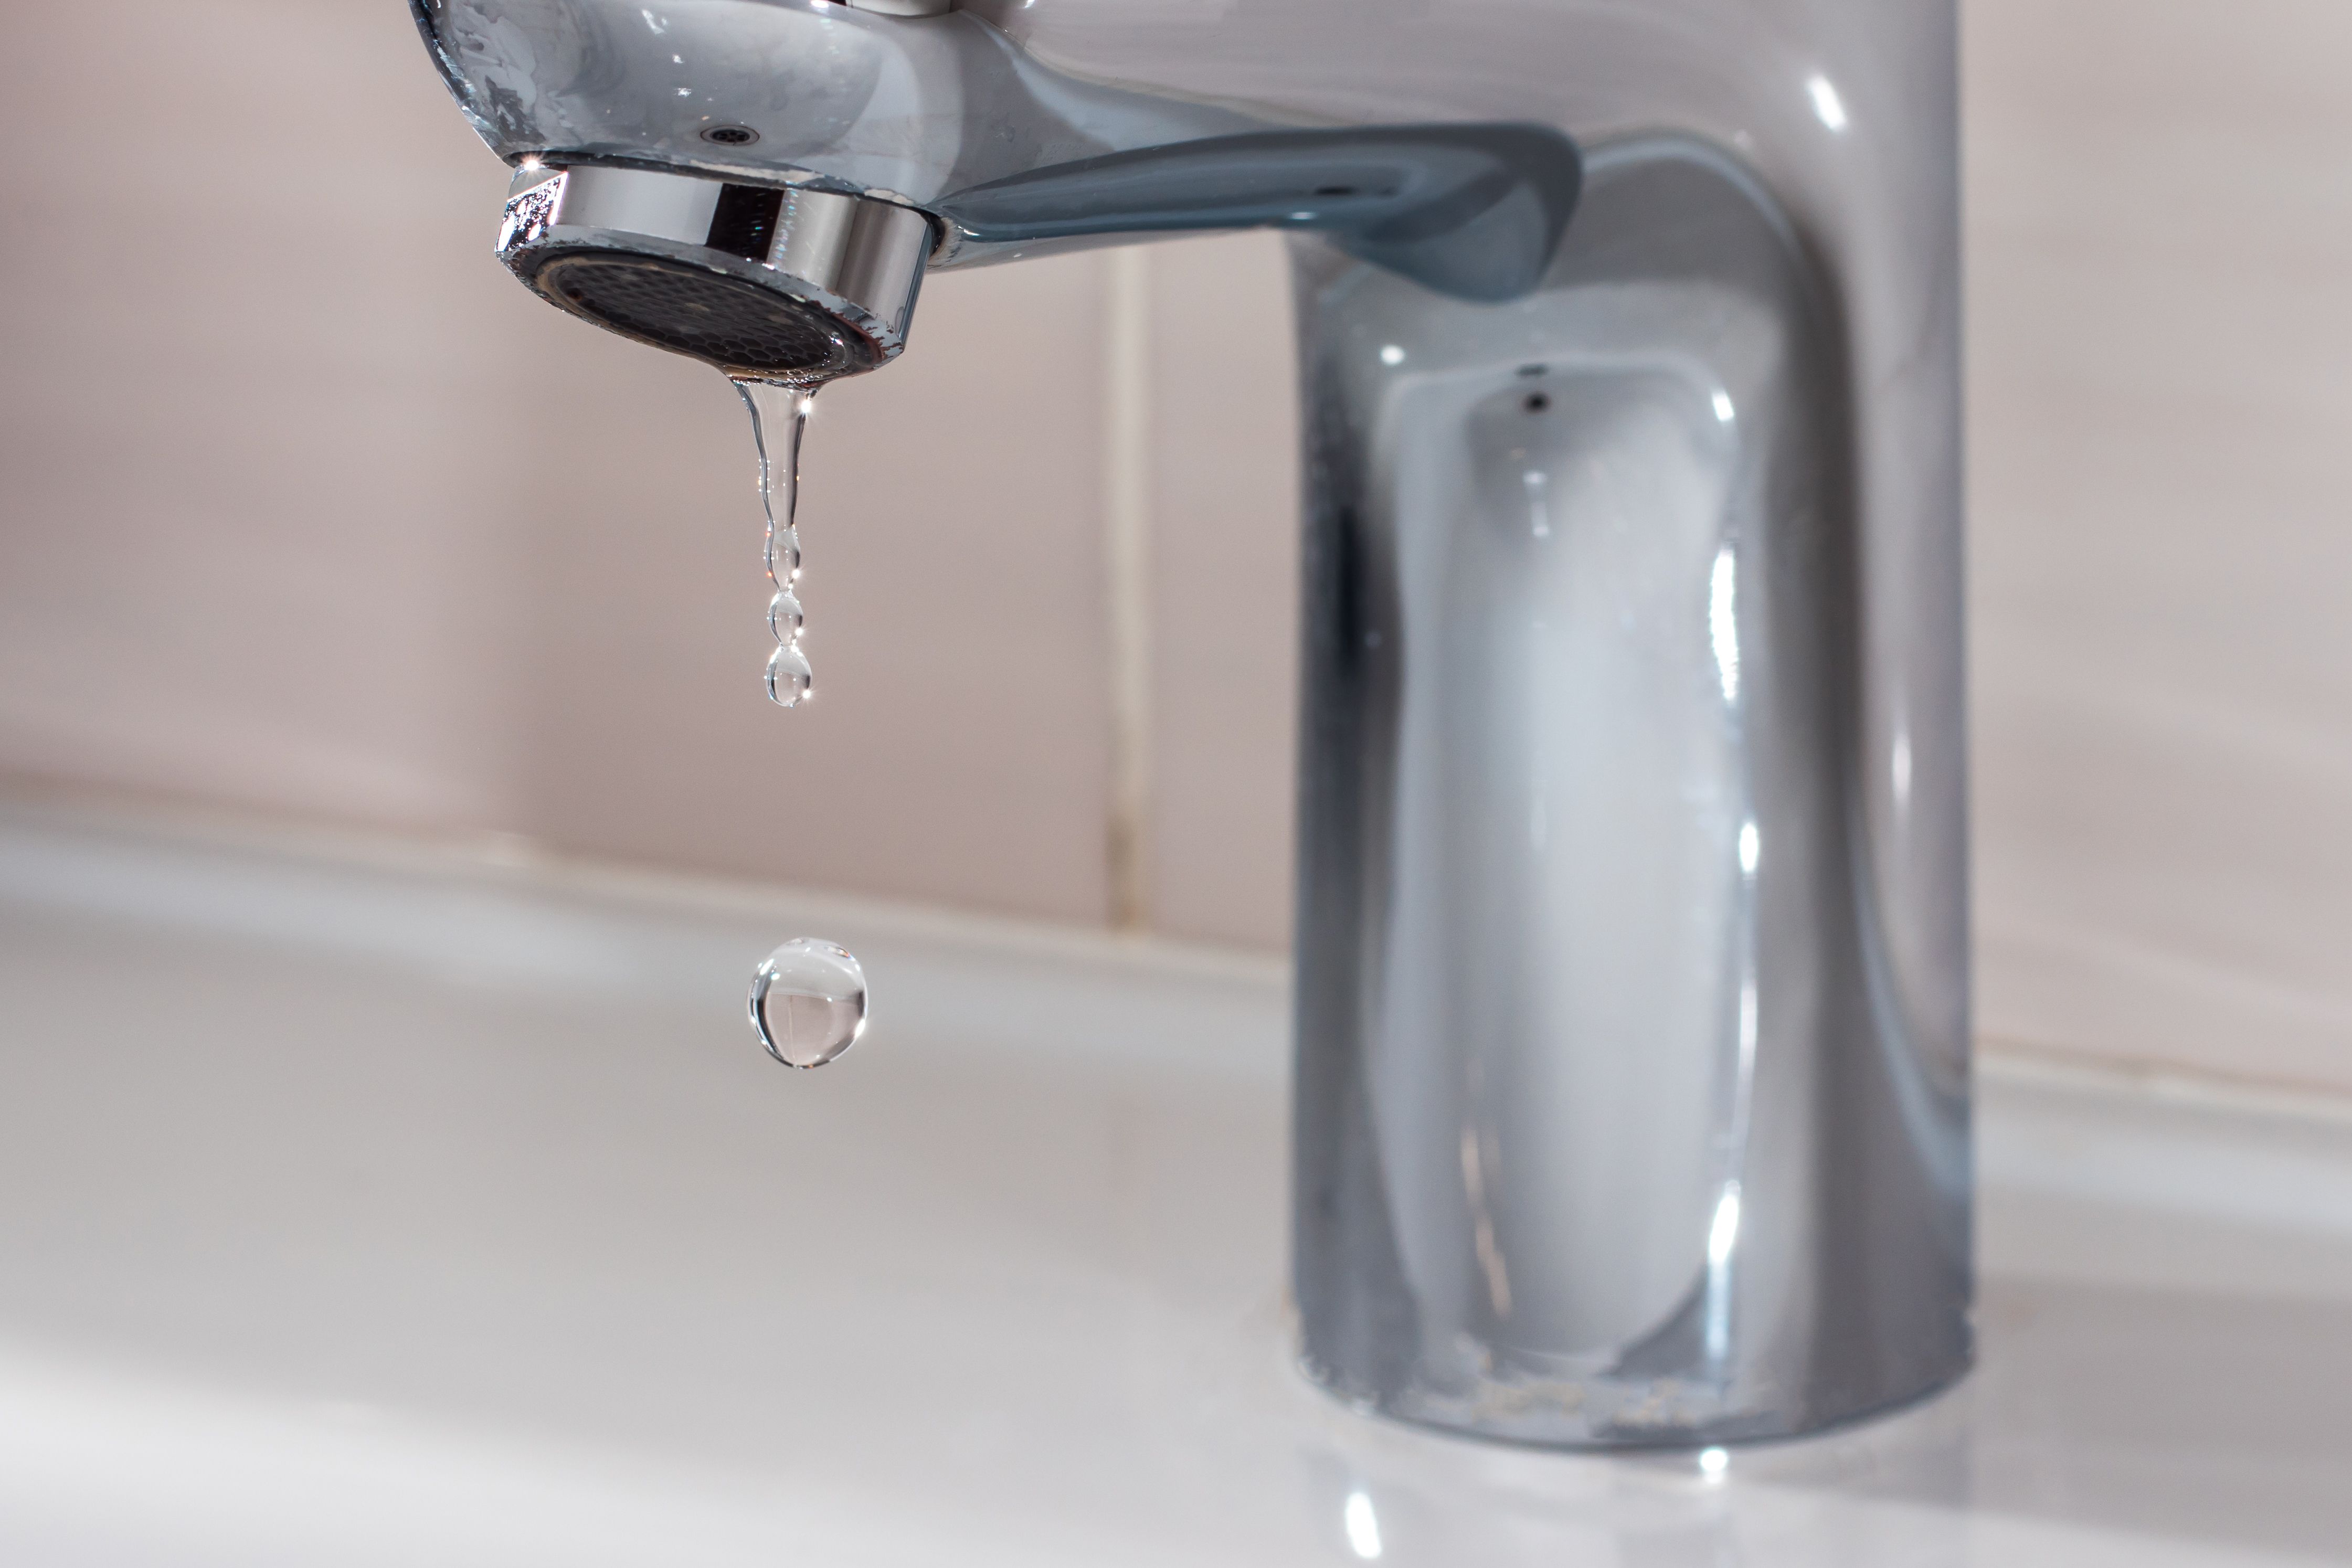
Leaking taps can be a nuisance, causing not only annoying drips but also wasting water and potentially leading to higher bills. However, fixing a leaking tap doesn’t have to be a daunting task. With a few simple tools and some basic knowledge, you can tackle this common household issue quickly and easily.
Assessing the Leak: Identifying the Problem
The first step in fixing a leaking tap is to identify the source of the leak. Is the water dripping from the spout or is it coming from the handle? Understanding where the leak is originating from will help you determine the best course of action for repair.
Gathering Your Tools: What You’ll Need
Before you begin the repair process, gather the necessary tools and materials. You’ll typically need an adjustable wrench, screwdrivers (both flathead and Phillips), replacement washers or O-rings, and plumber’s tape. These tools are readily available at most hardware stores and are essential for the job.
Turning Off the Water Supply: Safety First
Before you start working on the tap, it’s crucial to turn off the water supply to prevent any further leaking or flooding. Locate the shut-off valve under the sink or near the tap and turn it clockwise until it’s fully closed. Then, turn on the tap to drain any remaining water in the pipes.
Fixing a Leaking Tap: Step-by-Step Guide
Step 1: Remove the Tap Handle
Using a screwdriver, carefully remove the tap handle by unscrewing the screws or bolts that hold it in place. Set the handle and screws aside in a safe place.
Step 2: Access the Cartridge or Valve
Once the handle is removed, you’ll see the cartridge or valve assembly inside the tap body. Use an adjustable wrench to carefully loosen and remove the retaining nut that holds the cartridge in place.
Step 3: Replace the Washer or O-Ring
Inspect the washer or O-ring for any signs of wear, damage, or corrosion. If you notice any issues, it’s time to replace them. Take the old washer or O-ring to the hardware store to find an exact replacement.
Step 4: Install the New Washer or O-Ring
Carefully install the new washer or O-ring in place of the old one. Make sure it fits securely and snugly to create a watertight seal. Reassemble the tap by following the previous steps in reverse order.
Testing the Tap: Ensuring a Proper Fix
After reassembling the tap, turn the water supply back on and slowly open the tap to check for leaks. If you’ve installed the new washer or O-ring correctly, the leak should be fixed, and the tap should function smoothly without any drips.
Additional Tips for DIY Tap Repairs
- Use Plumbers Tape: When reassembling the tap, wrap plumber’s tape around the threads to create a tight seal and prevent leaks.
- Regular Maintenance: To prevent future leaks, consider performing regular maintenance on your taps. This includes checking for any signs of wear or corrosion and replacing washers or O-rings as needed.
- Seek Professional Help: If you’re unsure about tackling the repair yourself or if the leak persists after your DIY efforts, don’t hesitate to contact a professional plumber. They have the expertise and tools to handle any tap repair efficiently.
Wrapping Up
Fixing a leaking tap is a simple yet satisfying DIY task that can save you money on water bills and prevent water wastage. By following these steps and being prepared with the right tools, you can tackle this common household issue in minutes. So, don’t let that annoying drip persist – take action and stop the leak today! Read more about fix leaking tap


